Launching IC-CAP
This assumes that IC-CAP has been properly installed on the computer. If you purchased the software together with the Hewlett-Packard workstation on which it will run, the software will have been installed at the Agilent factory. Otherwise, you can follow the installation procedures provided in the Installation Guide. Then proceed as follows:
| 1 |
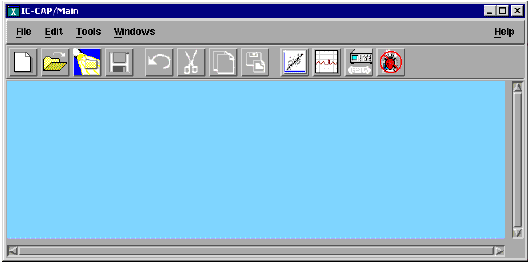
Start IC-CAP from any terminal window by typing iccap and pressing Enter. The IC-CAP Main window appears (see the following figure). |
Figure 185 IC-CAP Main window
|

|
| 2 |
Select File, then select Examples from the pulldown menu. A list of model file types is displayed. |
| 3 |
Double-click on the model file type you want, for example /bjt. A list of model files of that type is displayed. |
| 4 |
Scroll through the list to find the .mdl file for the model you wish to use, and double-click to open it or select it and click OK. |
| 5 |
The Model window for the model of your choice is displayed. |
| 6 |
Before you continue with the IC-CAP procedures, make a new directory in an appropriate location in the UNIX structure, using the mkdir command, to store the data and model files that will be generated. Give the directory a name that will associate it with the devices you are going to model. |
| 7 |
Use the cd command to change to the new directory in UNIX. |
| 8 |
To leave IC-CAP, choose File > Exit. |
|
